Click up
About ClickUp WHMCS module[edit | edit source]
The provided module seems to guide the user through the process of configuring and integrating ClickUp Task Management & Time Tracking within a system, possibly a WHMCS-based agency portal.
Requirements[edit | edit source]
- WHMCS V7 or V8.x.x
- WHMCS DB User must have all permissions of the DB before installation and activation of this ADDON.
- GRANT ALL PRIVILEGES ON db_base.* TO db_user @'localhost' IDENTIFIED BY 'db_passwd';
How to download the module files?[edit | edit source]
1. Log in to your demo agencyportal client area https://demo.agency-portal.io
2. Go to my services or from main dashboard click on manage icon with your purchased service this module service
3. Under Downloads tab you can find the files. Download specific PHP version and Ioncube version files.
How to upload the module files?[edit | edit source]
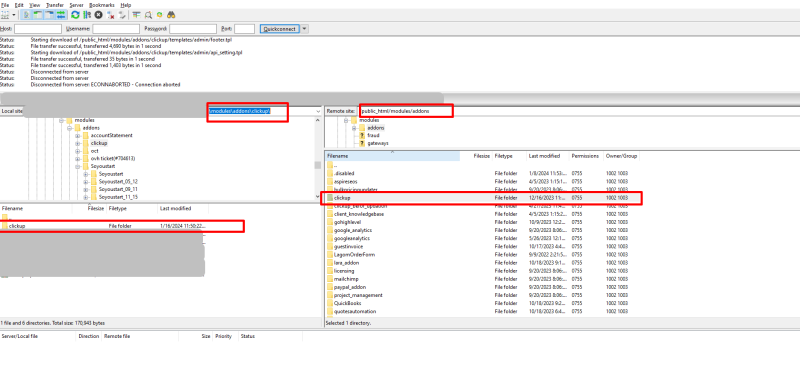
1. After downloading's the specific PHP and Ioncube version zip file, extract it on your computer
2. Connect FTP/SFTP, login as cPanel/Plesk, etc.
3. Under un-zip module folder, you can see folders like "whmcsdir/modules/addons/". Upload "ClickUp" folder with your WHMCS server on this path "whmcsdir/modules/addons/".
Note: whmcsdir is the the folder where your WHMCS is installed. it could be any custom folder or on main public_html.
How to activate the module[edit | edit source]
1. Navigate to https://demo.agency-portal.io
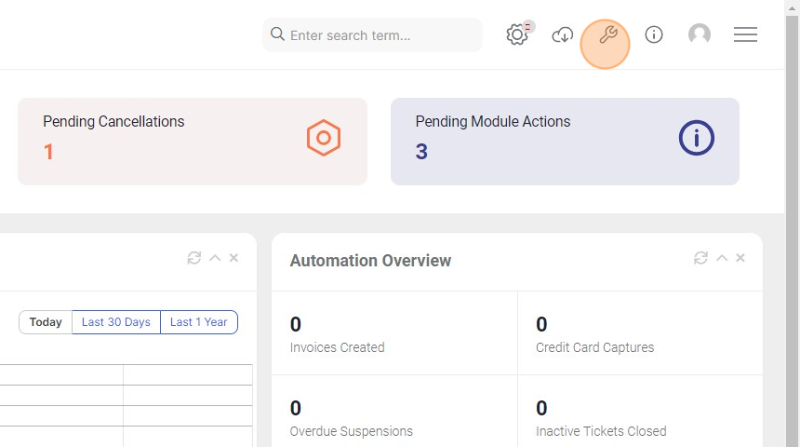
2. Click this wrench icon.
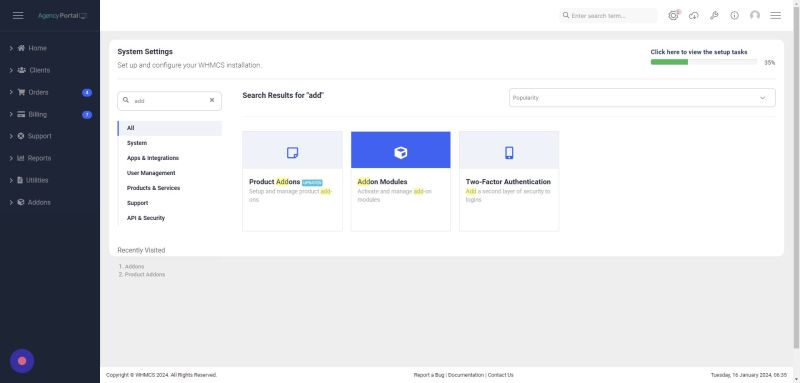
3. Click "System Settings"
4. Search for the Addon and click on it.
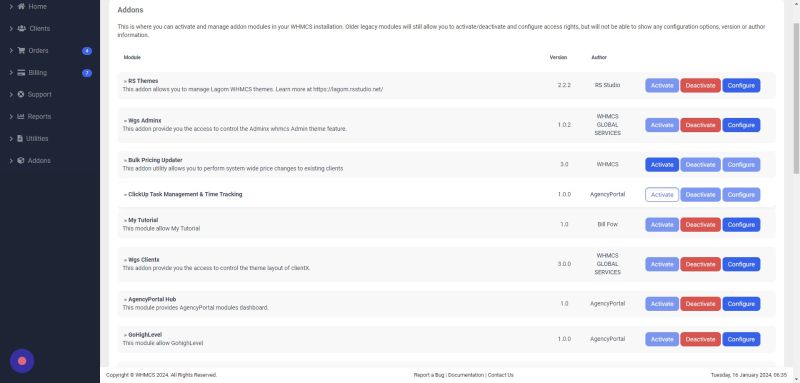
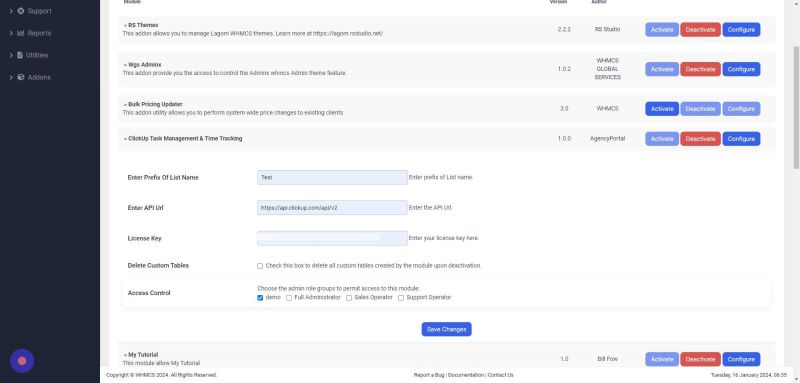
5. Search for clickUp and click on activate button.
6. Click this configure.
7 Details for the following:-
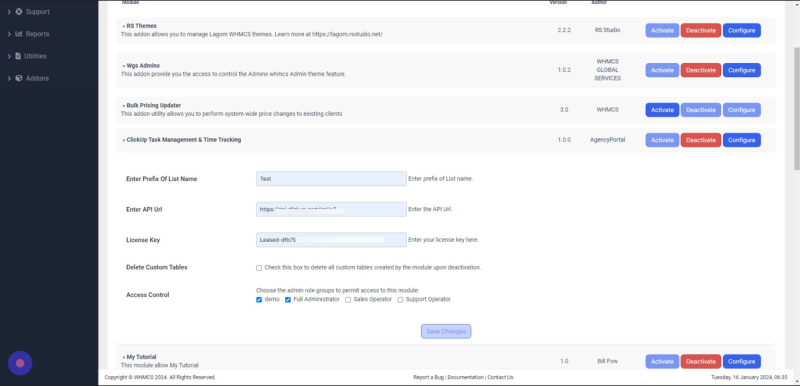
7.1 Enter the prefix name of list, API key, License key.
7.2 select the custom to delete the all custom table.
7.3 For access control give full administrator access.
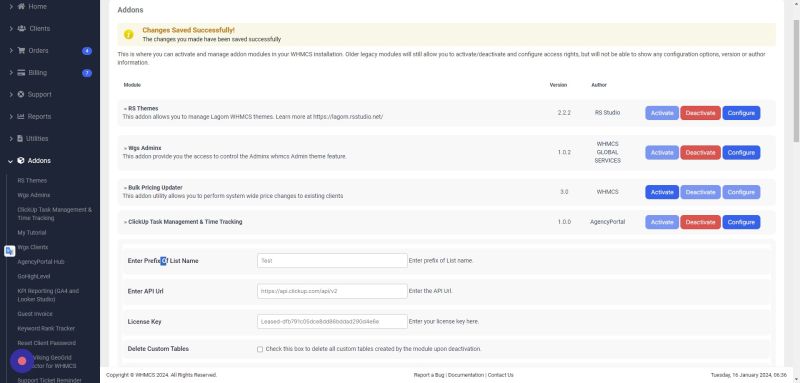
8. Click on the save changes.
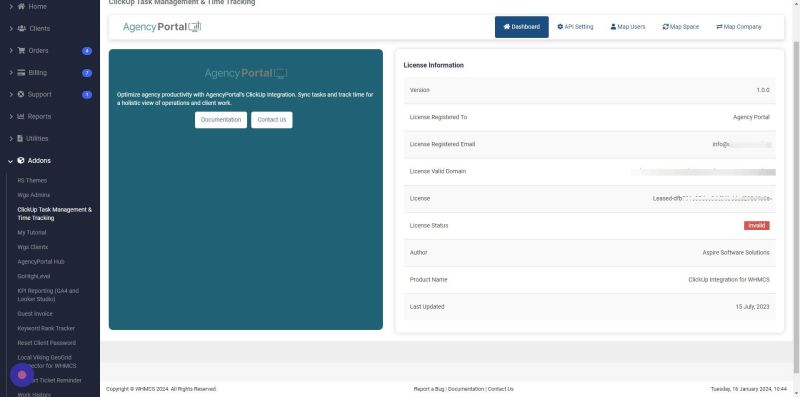
9.Go to addons and Click "ClickUp Task Management & Time Tracking"
10. License information
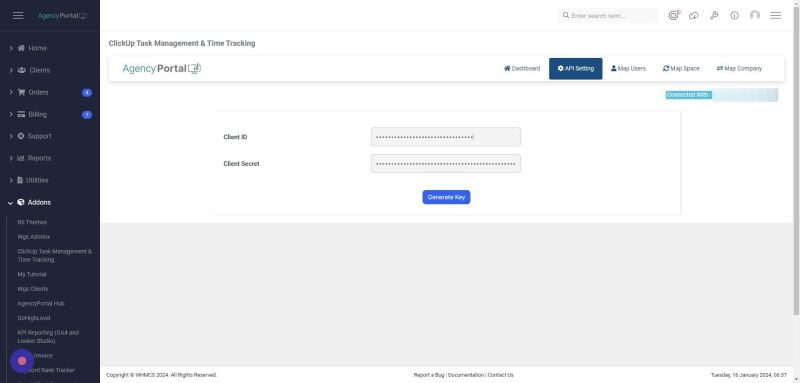
11. API setting
"Enter the clickUp client id and secret key" to connect with clickUp accounts.
12. From where to get clickUp client id and secret key.
12.1 Click on URL https://help.clickup.com/hc/en-us/articles/6303…
13. Click "Generate Key"
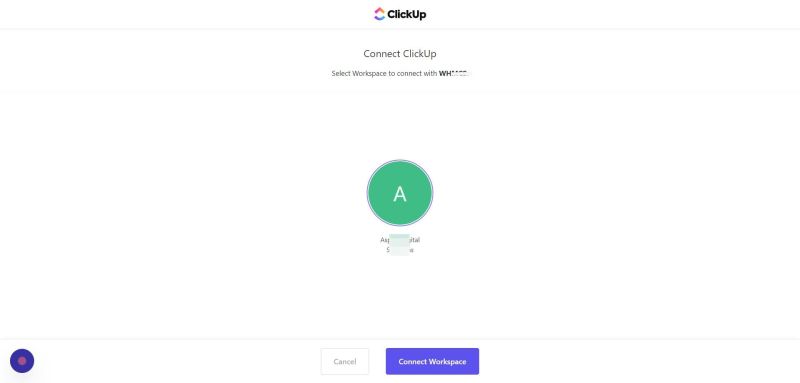
14.Choose workspace accordingly and click on connect workspace button
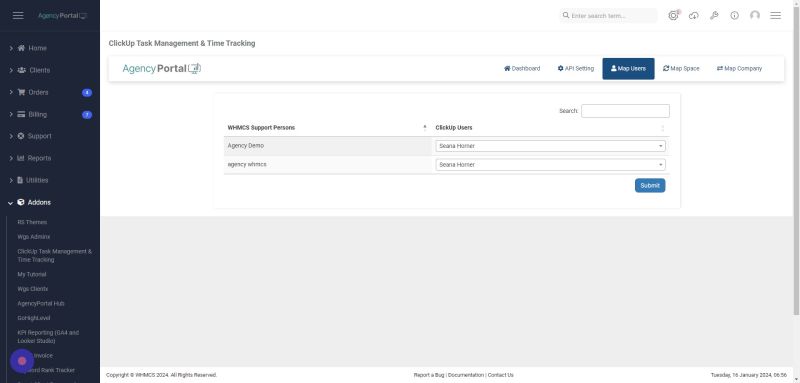
15. Map the WHMCS support user with ClickUp user
16. Click on "Submit" Button
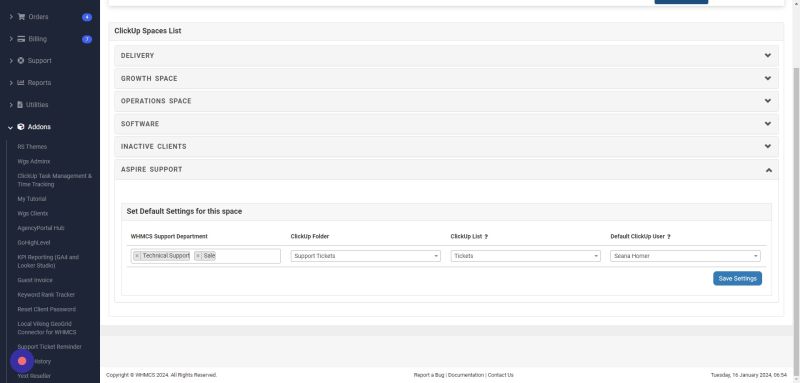
17. Map the default settings for every specific clickUp folder where task will created if the user is not mapped in company map tab.
("Map the default WHMCS support departments , clickUp folder list, clickUp users")
18. Click "Save Settings"
19. "Map the single user with specific space and folders where the task will be created"
Choose clickUp space from the drop down and click on sync/save button
20. Map the user with clickUp folders and Hit the sync button
21. After sync it will show like this
How it will work?[edit | edit source]
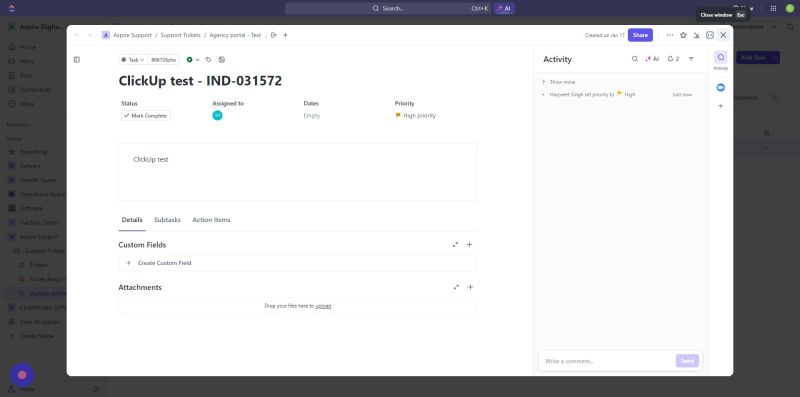
1. When a ticket is opened from either the client or admin area, it will automatically create a task in ClickUp within the mapped spaces and folders, as per the modules.
2. When the priority and status changes of the tickets in WHMCS , The priority and status of the task also changes on the ClickUp portal.
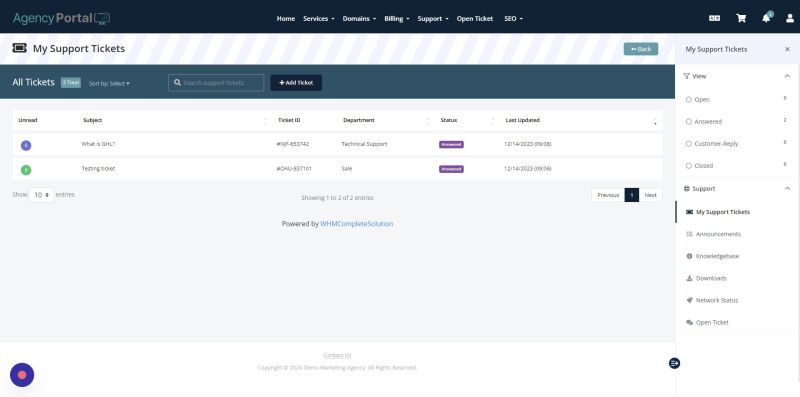
3. Open a ticket
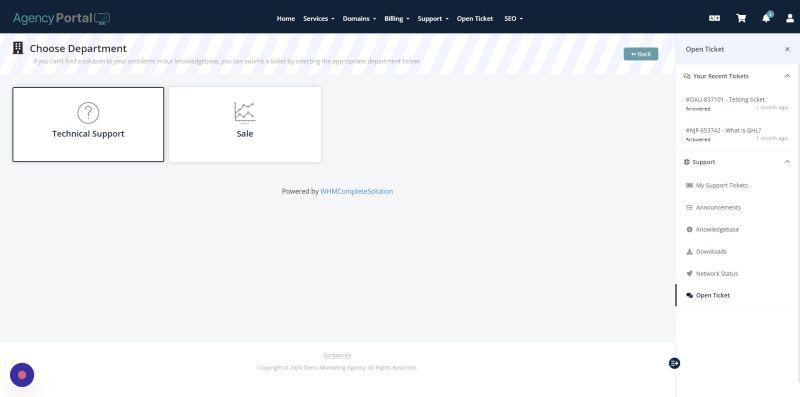
4.Select the department accordingly.
5.Open the ticket with subject and Hit the submit button.
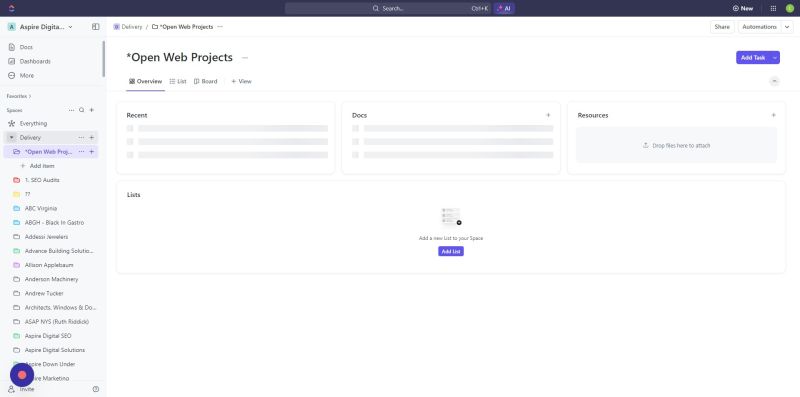
6.Click on the Delivery(Arrow).
7.Click on the support ticket.
8.Click this icon.
